 Save
Save My neighbor Linda stopped by one afternoon with a jar of homemade peanut butter she'd made herself, and I knew exactly what I had to do with it. Something about the way she described grinding those roasted peanuts made me want to bake that same day. I pulled out my grandmother's worn fork from the drawer—the one with the slightly bent tines—and made a batch of these cookies while she watched from my kitchen counter. She took one bite of that first warm cookie, closed her eyes, and said nothing for a full minute. That's when I knew these peanut butter cookies weren't just a recipe; they were a moment worth repeating.
I made a triple batch for my daughter's school bake sale last spring, and watching her friends demolish them in the first twenty minutes taught me something: these cookies bridge every gap. The kid who usually picks at everything had three. The teenager who claimed to be on a "no sugar" phase grabbed two when she thought no one was looking. There's something about the combination of butter, peanut butter, and that perfect chew that just works.
Ingredients
- All-purpose flour (1 1/4 cups): This is your structure—it keeps the cookies from spreading into one giant puddle, but not so much that they become cake-like.
- Creamy peanut butter (1 cup): This is the star, so don't skimp or substitute with powdered peanut butter; you want that deep, nutty richness.
- Unsalted butter (1/2 cup): Softened butter creams better with the sugars, giving you that light, fluffy texture that melts on your tongue.
- Granulated sugar (3/4 cup) and brown sugar (1/2 cup): Together they create the perfect balance—the granulated gives structure, the brown adds moisture and caramel notes.
- Baking soda (1/2 teaspoon) and baking powder (1/4 teaspoon): These two work together to lift the cookies just enough without making them cake-like.
- Large egg: This binds everything and adds a touch of moisture that keeps the centers tender.
- Vanilla extract (1 teaspoon): A small amount that rounds out the flavor without announcing itself.
Tired of Takeout? 🥡
Get 10 meals you can make faster than delivery arrives. Seriously.
One email. No spam. Unsubscribe anytime.
Instructions
- Set up your workspace:
- Preheat the oven to 350°F and line two baking sheets with parchment paper while the oven heats. This prevents that scramble where you're looking for parchment with hot dough waiting in your hands.
- Combine your dry ingredients:
- Whisk together the flour, baking soda, baking powder, and salt in a medium bowl, making sure everything is evenly distributed. Set this aside—whisking takes just a minute but prevents lumps from hiding in your dough later.
- Cream the butter and peanut butter:
- Beat the softened butter, peanut butter, and both sugars together until the mixture looks light, pale, and fluffy—about 2 minutes with a hand mixer. You'll actually see it transform; it should look almost cloud-like.
- Add the egg and vanilla:
- Mix in the egg and vanilla extract until everything is combined and smooth. Don't overmix here; just make sure there are no streaks of egg visible.
- Bring it together:
- Gradually add the dry ingredients to the wet mixture, stirring just until the flour disappears. The moment everything is combined, stop—overmixing develops too much gluten and toughens the cookies.
- Shape and prepare for baking:
- Scoop about 1 tablespoon of dough for each cookie and roll into smooth balls. If you like, roll each ball in a little granulated sugar for a subtle sparkle and extra crunch on the edges.
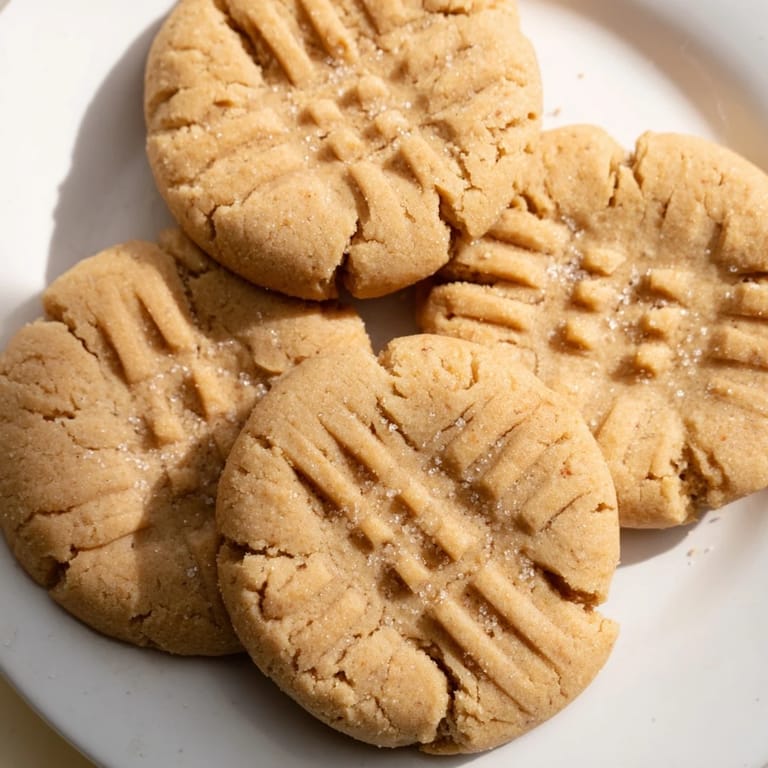
- Make the crosshatch:
- Place the dough balls on your prepared baking sheets about 2 inches apart, then take that fork and press down firmly in one direction, creating the first line. Rotate the fork about 45 degrees and press down again to create the signature crosshatch pattern—this little detail makes all the difference visually.
- Bake to perfection:
- Bake for 10 to 12 minutes, watching until the edges turn lightly golden but the centers still look slightly soft and pale. The cookies will continue to cook on the baking sheet after you remove them, so don't wait for them to look completely done.
- Cool with intention:
- Let the cookies rest on the baking sheet for 5 minutes—this is crucial because they're still setting and will break if you move them too soon. After that, transfer them to a wire rack and let them cool completely, and you'll have the perfect tender center with set edges.
 Save
Save There's a moment about 8 minutes into baking when your whole kitchen smells like roasted peanuts and caramel, and that's when I know I made the right choice. It's the kind of smell that makes people appear in your kitchen asking what you're making, drawn in like they have no choice in the matter.
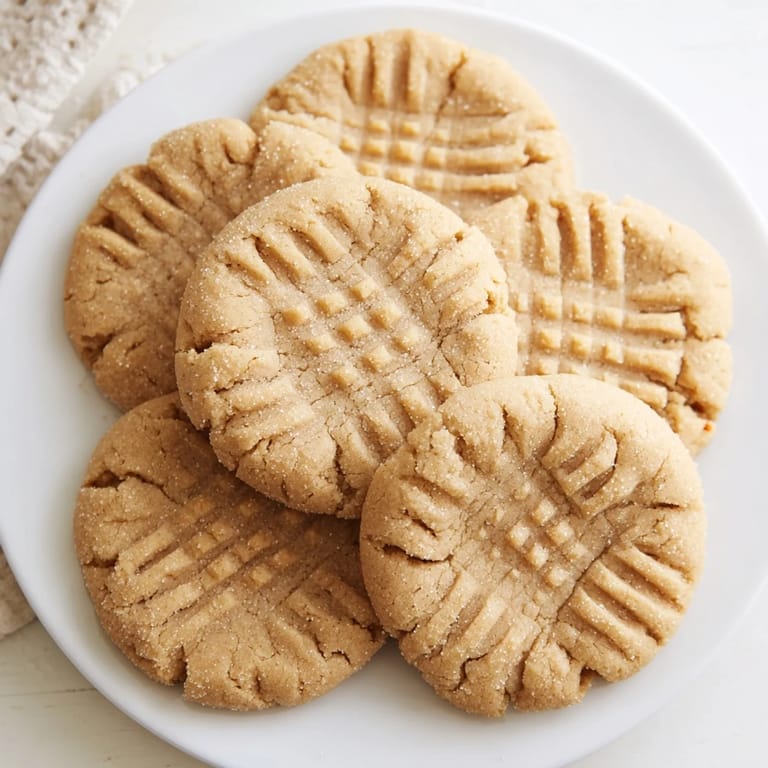
Texture and Chew
The magic of these cookies lives in their texture—that specific moment where the edges have set and crisped up just slightly, but the center is still warm and gives way when you bite into it. This balance comes from pulling them out when they look almost underdone and letting the residual heat finish the job. If you prefer crunchier cookies, leave them in for 13 or 14 minutes, but understand you're trading that tender center for a more uniform crunch throughout.
Variations Worth Trying
Once you've made the classic version a few times and know how your oven behaves, you can start playing. Chunky peanut butter adds little pockets of intense nuttiness that make each bite unpredictable in the best way. Chopped roasted peanuts folded into the dough create an extra layer of texture, and a handful of chocolate chips transforms them into something altogether different—though I've never decided if that's an improvement or just a different kind of delicious.
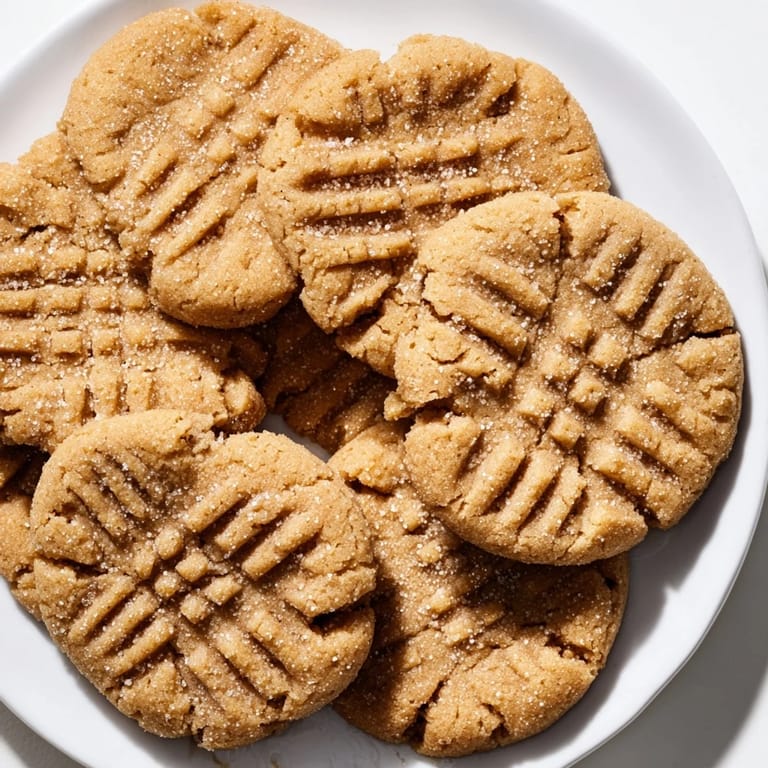
Serving and Storage
Eat them warm with a cold glass of milk and you'll understand why people have fought over the last cookie. Store them in an airtight container at room temperature for up to 5 days, though they rarely make it that long in my house. If they do somehow start to harden, pop them back in a 300°F oven for 2 minutes to revive them.
- A cold glass of milk is the only acceptable pairing, though strong coffee works in a pinch.
- These freeze beautifully either as dough balls or baked cookies, so you can always have them ready.
- The fork marks should be distinct and deep—don't press gently or they'll puff up and disappear.
 Save
Save These cookies represent something simple and profound—the kind of food that brings people together without any fuss or pretense. Make a batch this week and see what happens when you share them.
Recipe Questions & Answers
- → How do I achieve the signature crosshatch pattern?
Press the cookie dough balls twice with the tines of a fork in a crisscross motion before baking to create the classic pattern.
- → Can I use crunchy peanut butter instead of creamy?
Yes, using crunchy peanut butter adds texture and extra peanut bits to the soft cookies.
- → What is the best baking time for chewy cookies?
Bake the cookies for 10 to 12 minutes until edges are lightly golden but centers remain soft for optimal chewiness.
- → Is it necessary to roll the dough balls in sugar?
Rolling dough in granulated sugar before baking is optional but adds a slight crunch and sparkle to the cookie surface.
- → How should I store these cookies to keep them soft?
Store fully cooled cookies in an airtight container at room temperature to maintain their soft texture for several days.