 Save
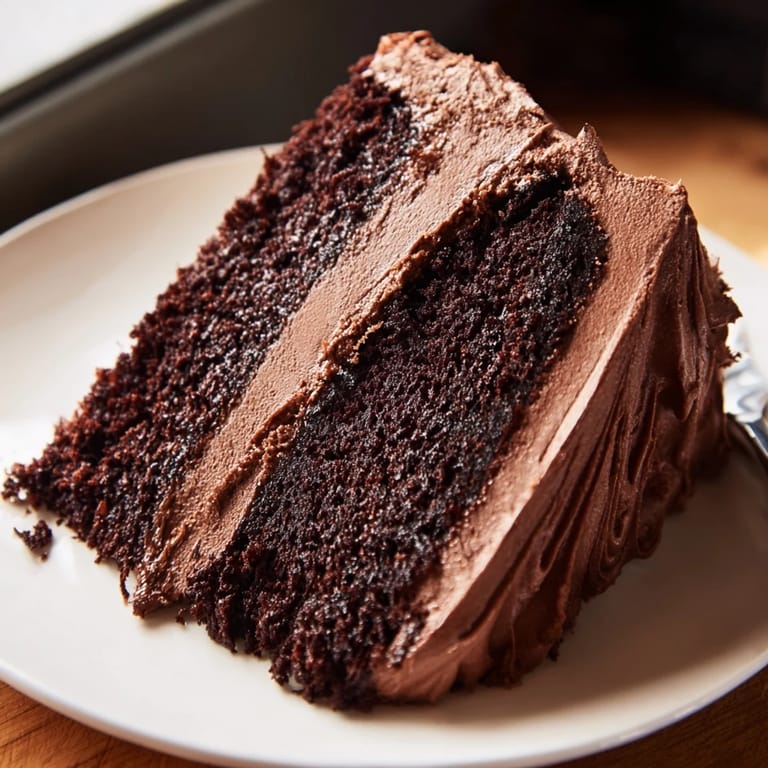
Save There's something about Devil's Food Cake that makes people pause mid-conversation and just close their eyes after the first bite. I learned this watching my neighbor's face light up the first time I brought one over—she'd been telling me about her terrible week, and suddenly none of that mattered because chocolate. That's when I understood this cake isn't just dessert; it's a moment of pure comfort wrapped in cocoa and buttercream.
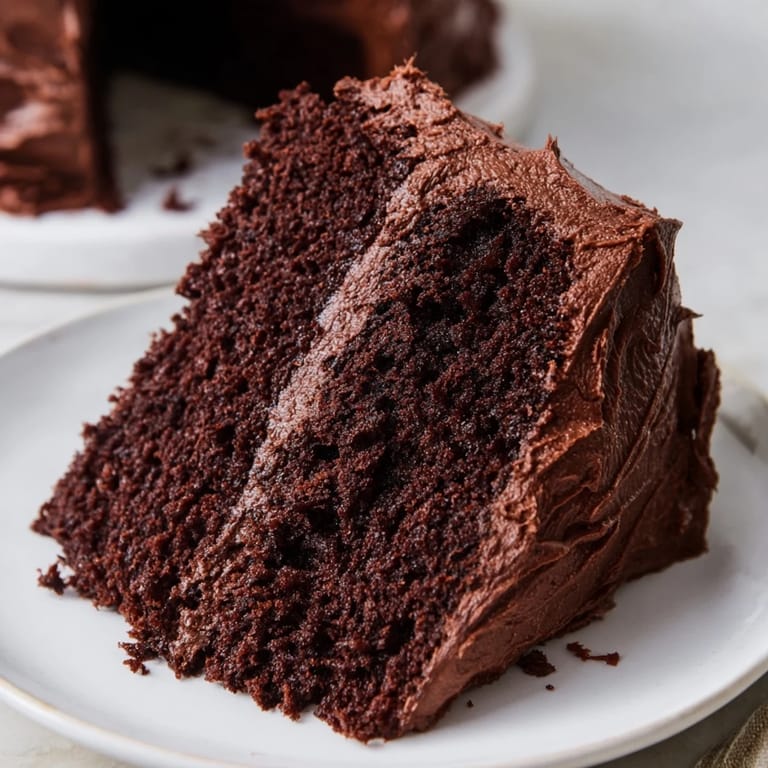
I made this cake one Saturday morning when my brother texted asking if I could bring something for a surprise party that afternoon. The whole kitchen smelled like a chocolate factory by the time it cooled, and I caught myself stealing tastes of frosting between frosting the layers. When I sliced into it at the party, the room actually quieted—not many desserts command that kind of respect.
Ingredients
- All-purpose flour: The structural backbone; sift it with the cocoa to break up any lumps and distribute the cocoa evenly throughout.
- Dutch-processed cocoa powder: This makes a real difference—it's darker and smoother than regular cocoa, giving you that deep, sophisticated chocolate flavor that regular cocoa can't quite match.
- Granulated sugar: Dissolves into the batter and keeps the cake moist for days.
- Baking powder and baking soda: This combination creates lift while the acids and bases interact, giving you that tender crumb.
- Fine sea salt: Enhances chocolate flavor so it tastes richer than the ingredient list suggests.
- Room-temperature eggs and milk: Cold ingredients create lumps; room temperature ones incorporate smoothly and create a better emulsion.
- Vegetable oil: Oil-based cakes stay moist longer than butter cakes, and this one will still be tender after three days.
- Boiling water: This is the secret—it blooms the cocoa powder and creates that signature moist texture Devil's Food is known for.
- Unsalted butter for frosting: Gives you control over saltiness; let it soften for at least an hour so it whips up light and fluffy.
- Powdered sugar: Sift before measuring or you'll end up with grainy frosting; trust me on this one.
- Milk for frosting: Adds moisture and helps you achieve that perfect spreadable consistency.
Tired of Takeout? 🥡
Get 10 meals you can make faster than delivery arrives. Seriously.
One email. No spam. Unsubscribe anytime.
Instructions
- Set Your Stage:
- Preheat your oven to 350°F and prepare two 9-inch pans with a light grease and parchment paper liners. Cold pans can cause uneven baking, so give your oven those few minutes to fully reach temperature.
- Combine the Dry Ingredients:
- Sift flour, cocoa powder, sugar, baking powder, baking soda, and salt into a large bowl. Sifting breaks up any cocoa clumps and aerates everything so you won't have streaks of unmixed cocoa in your final cake.
- Build the Wet Mixture:
- Add room-temperature eggs, milk, oil, and vanilla to the dry ingredients and mix on medium speed until you see no flour streaks. This usually takes about a minute; stop before you overmix, which toughens the cake.
- Add the Game-Changing Water:
- Add the Game-Changing Water:
- Reduce your mixer to low speed and very carefully add the boiling water. The batter will look thin and almost soup-like, but this is exactly right—it creates that signature moisture and tender crumb you're after.
- Bake Until Golden:
- Divide the batter evenly between your prepared pans and slide them into the oven for 28–32 minutes. You'll know it's done when a toothpick inserted in the center comes out clean or with just a few moist crumbs clinging to it.
- Cool with Patience:
- Let the cakes rest in their pans for 10 minutes—this prevents them from cracking when you turn them out. Then carefully invert them onto wire racks to cool completely, which usually takes an hour.
- Make the Frosting:
- Beat softened butter until it's pale and creamy, then gradually add sifted powdered sugar and cocoa powder, beating until smooth. Add milk, vanilla, and salt, then beat until fluffy enough to spread; if it's too stiff, add a splash more milk.
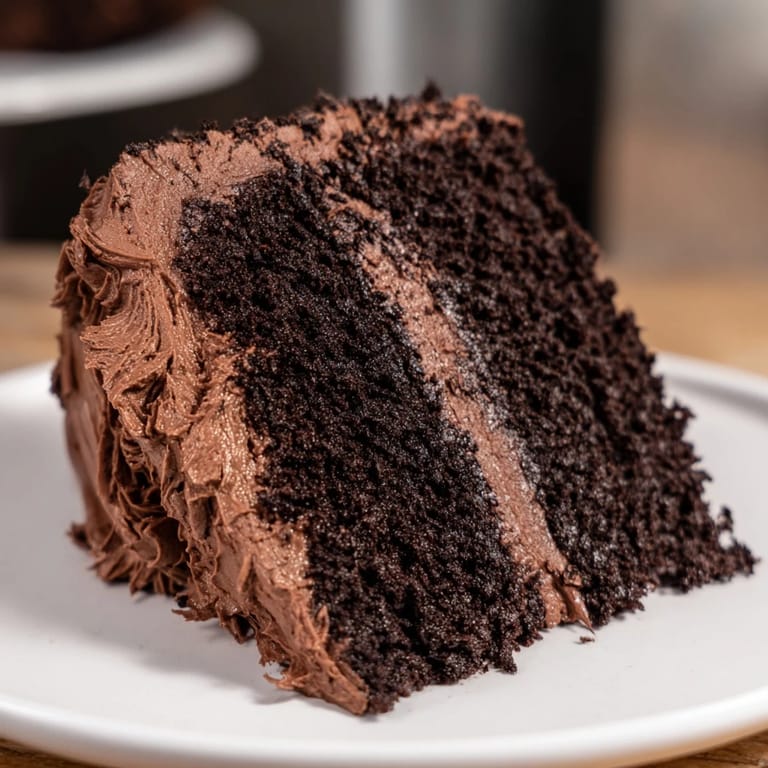
- Assemble Your Masterpiece:
- Place one cooled cake layer on your serving plate, spread a generous layer of frosting on top, then carefully place the second layer on top. Frost the top and sides with the remaining frosting, taking your time to make it look as beautiful as it tastes.
 Save
Save I've made this cake enough times now that I know exactly when the kitchen smells right—when the cocoa aroma shifts from sharp and powdery to warm and toasted, that's when the layers are done. There's something grounding about that moment, standing in front of a warm oven with chocolate-dusted hands, knowing you're about to create something people will actually remember eating.
The Moisture Magic
What separates a good Devil's Food cake from a great one is understanding why that boiling water is there. Most home bakers skip steps they don't understand, but this one is pure science—the heat blooms the cocoa powder, extracting more flavor and creating a batter that bakes into something with an almost velvety texture. The thin batter feels wrong the first time you make it, like something went wrong, but it's exactly what you need. I used to add less water thinking I'd get a denser cake, and instead I got something dry that tasted stale by the next day. Once I trusted the recipe, everything changed.
Frosting Techniques That Matter
Buttercream frosting is forgiving once you understand its moods. The key is starting with truly softened butter—not melted, but soft enough that your finger sinks into it easily. When you're beating in the powdered sugar, go slowly; dumping it all in at once creates clouds of sugar everywhere and results in a grainy texture. I learned this the hard way, standing in my kitchen looking like I'd been powdered by a donut factory. The milk adjustment comes at the end, and it's where you can dial in exactly the consistency you want—thicker for piping decorations, thinner for a smoother spread.
Storage and Serving Secrets
This cake is forgiving about how you store it, which makes it perfect for baking ahead. Room temperature works for two days if you cover it loosely with a cake dome or inverted bowl, giving the frosting time to set but keeping the cake moist. The refrigerator extends its life to five days, though I've found the crumb stays slightly softer if you pull it out an hour before serving. On hot days, slice with a long, thin knife dipped in hot water between cuts, wiping the knife clean each time so you don't tear through the frosting.
- For extra decadence, brush each cake layer with a tablespoon of strong brewed coffee before frosting—it deepens the chocolate flavor without making it taste like coffee.
- A thin layer of dark chocolate ganache between the cake layers creates a professional touch and adds richness.
- Room temperature cake tastes better than cold cake, so always let it sit out for at least 30 minutes before serving.
 Save
Save This cake has become my go-to when I want to show someone I care, whether that's a celebration or someone who just needs chocolate. It's reliable enough that I make it without consulting the recipe anymore, but special enough that it never feels ordinary.