 Save
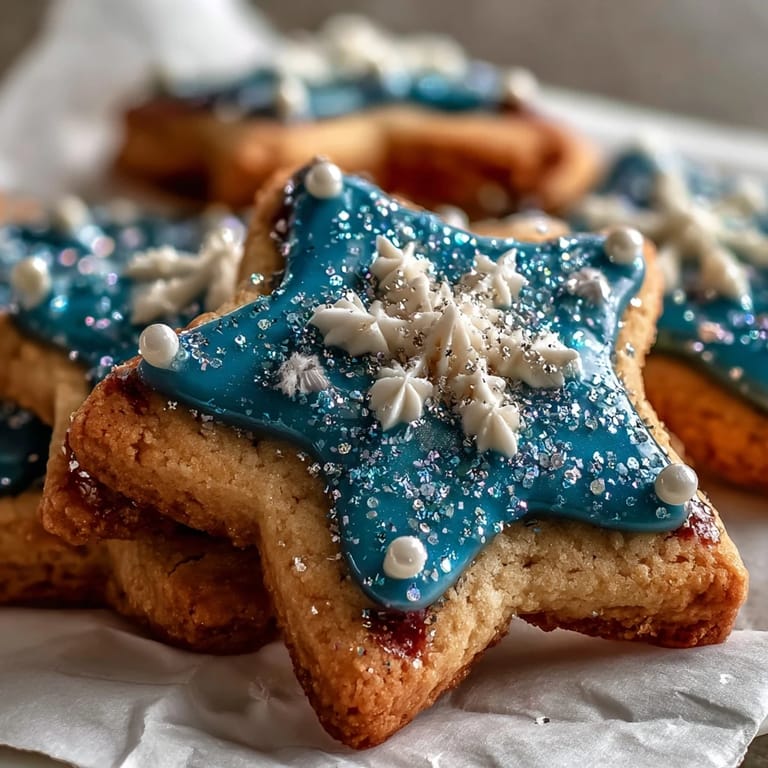
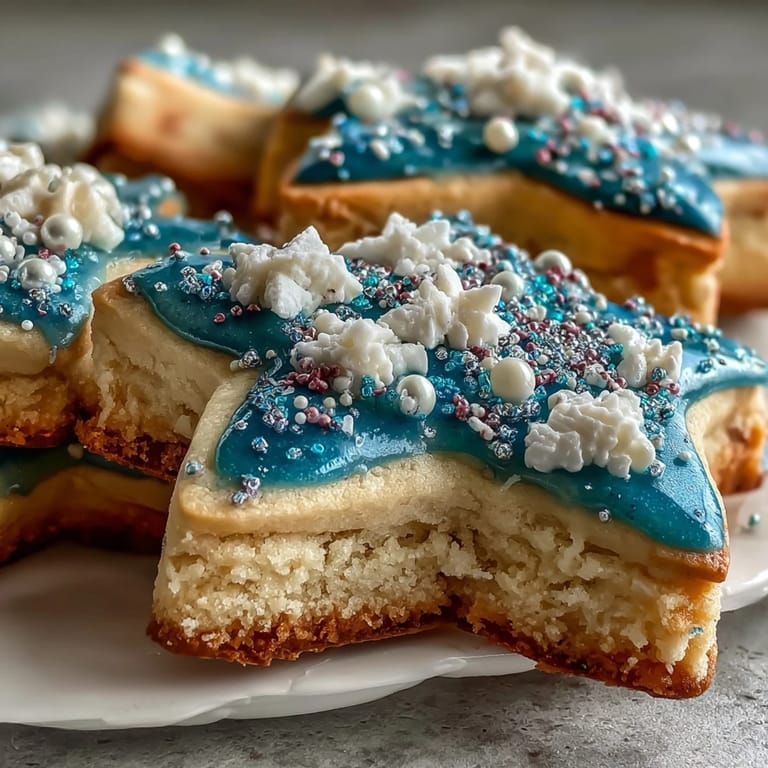
Save Baking these Gemini Zodiac Cookies always sparks a bit of magic in my kitchen. The smell of buttery sugar cookies wafts around like a warm hug, reminding me of the vibrant birthday parties filled with laughter and celestial decorations. I recall a moment recently when I baked these for a friend who adores astrology; she was positively beaming over the whimsical star shapes. The combination of flavors and the sparkling glaze brings a sense of celebration, resonating with the duality of Gemini itself. It feels incredibly joyous to create something that not only tastes delightful but also embodies a personality!
I still chuckle when I think back to the time I accidentally mixed up the sugar with salt while preparing these cookies for a family get-together. The initial bites were met with funny expressions before everyone burst into laughter, declaring it a baking adventure! Learning from that day, I make sure to double-check my measurements now. However, that funny mishap became a story that still delights our gatherings!
Ingredients
- All-purpose flour: This is the foundation of the cookies; I found sifting it ensures a lighter texture.
- Baking powder: Adds a little lift to keep the cookies fluffy!
- Salt: Just a pinch enhances all the flavors.
- Unsalted butter: Using good quality butter truly makes a difference in flavor.
- Granulated sugar: Sweetens the dough and helps achieve that perfect melt-in-the-mouth texture.
- Egg: Acts as a binding agent and gives the cookies richness.
- Vanilla extract: A must for that warm aromatic essence.
- Lemon zest: Optional, but it brightens the flavor and adds freshness.
- Powdered sugar: Essential for the royal icing; I always sift it beforehand for smoothness.
- Meringue powder: This helps the icing set perfectly and stay stable.
- Gel food coloring: Makes decorating the cookies fun and creative.
- Edible glitter: Because who doesn’t want a touch of sparkle?
Tired of Takeout? 🥡
Get 10 meals you can make faster than delivery arrives. Seriously.
One email. No spam. Unsubscribe anytime.
Instructions
- Mix the Dry Ingredients:
- In a medium bowl, whisk together flour, baking powder, and salt; set aside while you gather your wet ingredients.
- Cream the Butter and Sugar:
- In a large bowl, cream the softened butter and sugar together until light and fluffy, about three minutes of mixing will do.
- Add the Egg and Flavors:
- Beat in the egg, vanilla extract, and if you’re feeling adventurous, the lemon zest until everything is well combined.
- Combine Mixtures:
- Gradually add the dry mixture to the wet mixture, stirring until a lovely dough forms; it’s time to dig in with your hands!
- Chill the Dough:
- Divide the dough into two disks, wrap in plastic, and chill for at least 30 minutes—this helps with rolling out later.
- Prepare for Baking:
- Preheat your oven to 350°F (180°C) and line baking sheets with parchment paper for easy removal.
- Roll and Cut:
- Roll out the dough on a floured surface to about 1/4 inch thick, then cut out your shapes; keep them spaced apart on the baking sheets.
- Bake to Perfection:
- Bake the cookies for 10 to 12 minutes until the edges are just golden; let them cool on the sheet for a quick moment before transferring them to a wire rack.
- Make the Royal Icing:
- In a bowl, stir together the powdered sugar, meringue powder, and just enough water to reach a piping consistency; don’t hesitate to add a touch more water if needed.
- Decorate:
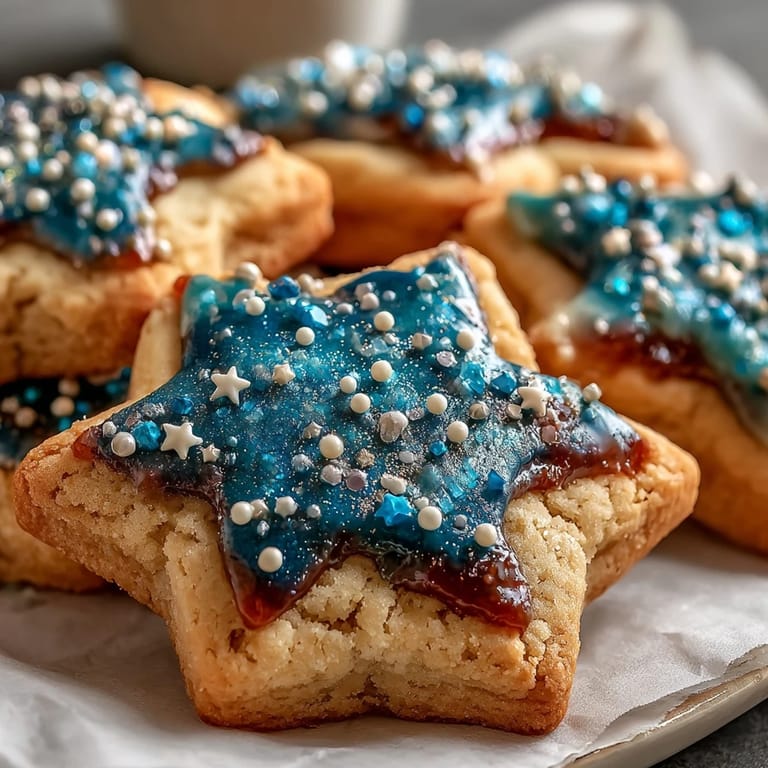
- Divide the icing and color it, then pipe designs onto cooled cookies, sprinkling the glitter if you like; let the icing set completely before serving.
 Save
Save  Save
Save Each time I make these cookies, they transform into more than just a treat. Friends gather around, sharing laughs and stories while decorating their own cookies, creating a sense of community and joy that lingers long after the last cookie has been eaten.
Baking with Creativity
This recipe invites creativity; feel free to experiment with different shapes or colors based on birthdays or celebrations! Letting the kids join in with the decorating often leads to the most memorable and amusing designs.
A Flavorful Twist
If you're ever in the mood for a different flavor, try adding some almond extract to the dough; it brings a delightful surprise. You might also try a mix of colors for the icing to really let your creativity shine.
Final Tips for Success
Finally, remember to keep everything organized to avoid any cookie fiascos!
- Try the dough beforehand to see if you need more lemon zest for brightness.
- Always let the dough chill properly for best results.
- Don’t rush the icing setting time, as patience pays off big time!
 Save
Save 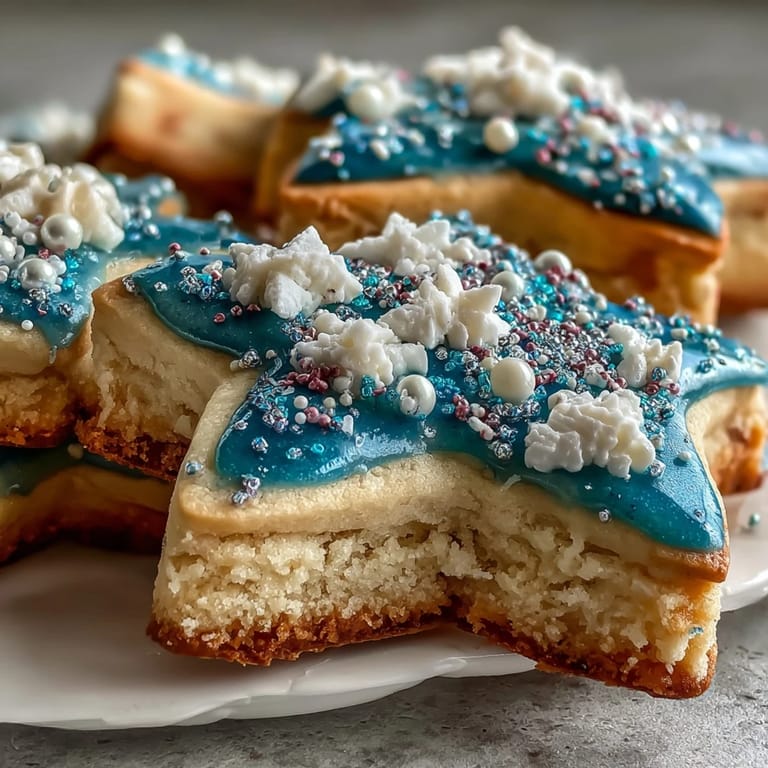 Save
Save May your time in the kitchen be filled with joy and laughter, just as those moments of baking these cookies have been for me!
Recipe Questions & Answers
- → What flavors can I add to the cookies?
Consider adding almond or citrus extracts for extra flavor depth.
- → How do I prevent the cookies from spreading while baking?
Make sure to chill the dough thoroughly before rolling it out, as this helps maintain their shape.
- → Can I make the icing in advance?
Yes, the royal icing can be prepared and refrigerated for up to a day ahead of time.
- → What surface should I use for rolling out the dough?
A lightly floured surface works best to prevent sticking while rolling out the dough.
- → How can I make the cookies more festive?
Use vibrant gel food coloring in the icing and add edible glitter or sugar pearls for decoration.