 Save
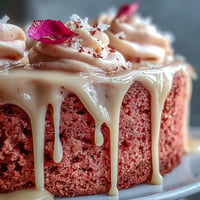
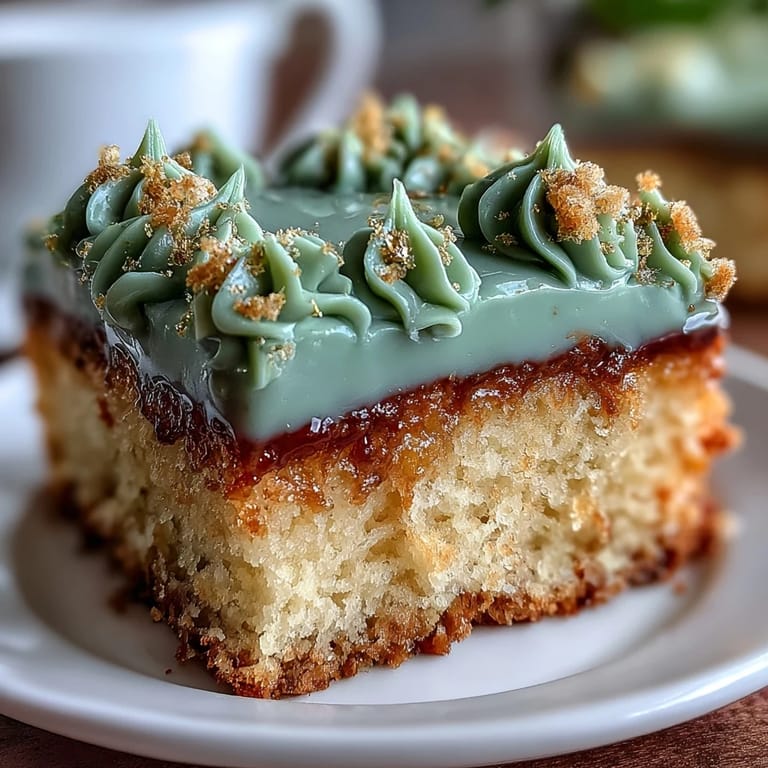
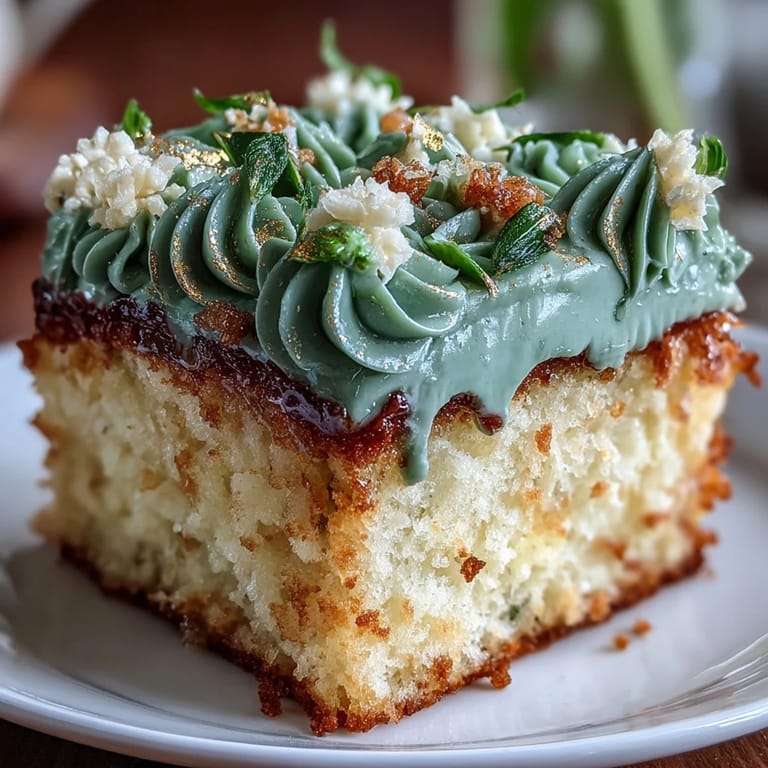
Save I can still hear the soft clink of measuring spoons and that satisfying hum from my old mixer as I made this graduation sheet cake for my niece’s big day. The kitchen filled with vanilla-scented warmth, and I caught myself swiping a finger through the sage green buttercream, just to check if it tasted as pretty as it looked. While the gold accents felt intimidating at first, the shimmer brought a quiet excitement for the celebration ahead. There’s something enlivening about creating an edible centerpiece that’s both elegant and playful. This cake always marks a milestone with something a little extra.
I remember laughing with my sister as we piped celebratory swirls, gold dust flying everywhere, and realized decorating was just as fun as eating the cake itself. We tried writing the year in buttercream, and it came out a little wobbly, but somehow that made it all the more charming for the graduates.
Ingredients
- All-purpose flour: Gives the cake its structure, and sifting beforehand has saved me from lumps more than once.
- Baking powder: Lends a soft rise without fuss, but measure carefully or you’ll risk a dense crumb.
- Salt: Rounds out the flavor—don’t skip it even if you think it’s just a pinch.
- Unsalted butter (room temperature): Creams up luxuriously and blends better if you leave it out well before baking.
- Granulated sugar: Sweetens and lightens the cake as it whips with the butter for those few minutes of patience while mixing.
- Large eggs (room temperature): Incorporate more smoothly and add richness—it helps to set them out just as you prep your dry ingredients.
- Pure vanilla extract: Boosts the cake’s aroma—don’t be shy with this one.
- Whole milk (room temperature): Keeps the crumbs moist, and cold milk has split my batter before, so I always warm it lightly.
- Powdered sugar (sifted): Essential for a silk-smooth buttercream, so don’t skip the sifting step (I learned this after a lumpy disaster).
- Heavy cream or milk: Adjusts the buttercream’s consistency, and a tablespoon at a time is the way to go for control.
- Sage green gel food coloring: Achieves the modern hue—use a light hand, then add more in tiny increments.
- Gold edible luster dust: Adds a touch of celebration, and mixing with clear vanilla lets the shimmer pop.
- Edible gold sprinkles (optional): For a hint of crunch and gold sparkle that never fails to make everyone smile.
Tired of Takeout? 🥡
Get 10 meals you can make faster than delivery arrives. Seriously.
One email. No spam. Unsubscribe anytime.
Instructions
- Prepare the pan:
- Grease your sheet cake pan and line it with parchment, making sure the corners are pressed down so nothing sticks.
- Mix the dry ingredients:
- Whisk together the flour, baking powder, and salt in a medium bowl, breathing in that familiar floury aroma.
- Cream the butter and sugar:
- Beat softened butter with sugar until pale and fluffy—it’ll look like clouds and feel softer between your fingers.
- Add eggs and vanilla:
- Mix in the eggs one by one, watching as the batter thickens and glistens, then stir in vanilla for that deep sweetness.
- Combine with dry and milk:
- Alternate adding the flour mixture and milk, beginning and ending with flour, just until no streaks remain—scrape the bowl’s edges to catch every bit.
- Bake the cake:
- Spread the batter in the pan, smoothing the top, and bake until the surface springs back and a toothpick emerges clean (around 30 minutes).
- Cool completely:
- Let the cake rest in the pan on a wire rack; this makes for easier frosting and no torn crumbs.
- Make the buttercream:
- Beat butter until creamy, then add powdered sugar gradually, alternating with splashes of cream, and beat until it’s plush and spreadable.
- Tint and reserve:
- Stir in the gel food coloring for that mellow sage hue, reserving half a cup for the gold accents later.
- Frost the cake:
- Spread the sage-green buttercream over the cooled cake, using gentle strokes for a soft, even canvas.
- Create gold accents:
- Mix luster dust with a drop of clear vanilla, then gently paint details or swirl it into reserved buttercream for gilded touches.
- Decorate and serve:
- Add sprinkles, graduation piping, or gold-painted designs, then chill before slicing to get neat squares that hold their shape.
 Save
Save Watching everyone light up as the cake was presented—gold dust catching the sun, sage green ribbons curling—made me realize food really can capture a celebration’s spirit. That memory sticks with me long after the crumbs are gone.
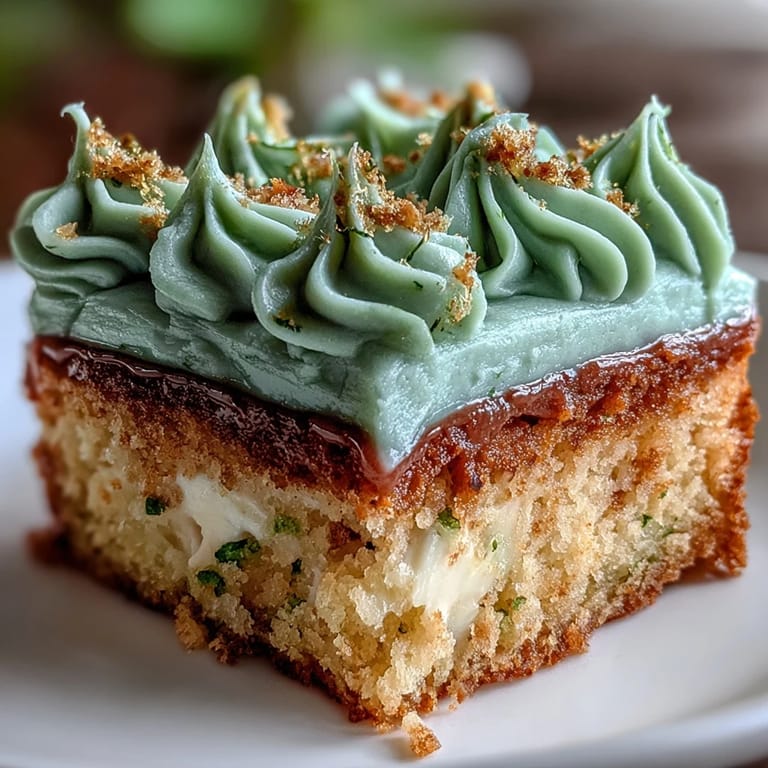
How to Get the Prettiest Buttercream Finish
Drag an offset spatula in wide, swooping motions to create subtle waves or patterns across the cake’s surface before adding the gold. If you slip and smudge, just add another decorative swirl or piped dot—no one’s the wiser, and sometimes the prettiest details come from small cover-ups.
Working with Edible Gold
I was surprised how easy it is to paint buttercream accents once you mix gold luster dust with a few drops of clear extract. Just use a light touch—a food-safe brush turns a little dust into brilliant streaks or highlights, and if your hand shakes, it creates a shimmering, organic look rather than a mistake.
Planning Ahead for Big Celebrations
Baking the sheet cake a day before makes party days so much less stressful. The buttercream also keeps its color and texture beautifully if you cover it and refrigerate overnight.
- If you chill the cake before slicing, you’ll get sharp, bakery-style edges.
- Extra gold luster dust can be saved for cookies or even sparkly cocktails.
- Let the cake sit at room temp for 30 minutes before serving so the buttercream softens perfectly.
 Save
Save If you try this cake, I hope it adds something special to your celebration—and your kitchen stories, too. Here’s to bright milestones and memorable shared slices.
Recipe Questions & Answers
- → How do I keep the cake moist?
Cream butter and sugar until light, avoid overmixing once flour is added, and bake just until a toothpick comes out clean. Brushing the cooled layers lightly with simple syrup can add extra moisture if desired.
- → How much gel color should I use for sage green?
Start with a tiny amount of concentrated gel color and add gradually—usually 1–3 drops for a cup of buttercream. Mix thoroughly and let the color rest; it can deepen slightly after sitting.
- → What's the best way to create the gold accents?
Mix edible gold luster dust with a few drops of clear vanilla or high-proof spirit to form a paint, and use a food-safe brush to paint reserved buttercream details. Alternatively, gently fold dust into the reserved portion for a marbled metallic effect.
- → Can I pipe decorations with this buttercream?
Yes. Adjust consistency by adding 1 tablespoon of cream at a time until pipeable. Stiffer buttercream holds shape for borders and lettering; slightly softer works for spreading and smoothing.
- → How should I store and transport the finished sheet?
Chill the frosted sheet until the buttercream firms, then keep refrigerated until 1–2 hours before serving. For transport, place the pan on a flat surface and secure with a non-slip mat; avoid stacking or long exposure to heat.
- → How can I adapt this for dietary needs?
Use a gluten-free all-purpose flour blend for the cake (expect slight texture changes) and substitute dairy-free butter and milk alternatives in the frosting for a dairy-free version. Test proportions for best results.