 Save
Save There's something about sugar cookies that takes me straight back to my cousin's kitchen on a snowy December afternoon. We weren't trying to make anything fancy—just wanted something to do with our hands while we caught up. She pulled out a worn recipe card, and within minutes, the butter and sugar were creaming together in this almost hypnotic rhythm. That first batch came out perfectly golden, and I realized it wasn't nostalgia I was chasing; it was that exact moment when simple ingredients became something worth sharing.
I made these for my daughter's class holiday party, and watching her face light up when the teacher said mine were her favorite was one of those quiet victories. She'd helped me cut stars and snowflakes the night before, sneaking tastes of icing between shapes. That's when I understood—this recipe isn't really about the cookies. It's about the excuse to stand beside someone in the kitchen and create something together.
Ingredients
- Unsalted butter, softened: Room temperature is everything here—cold butter won't cream properly, and you'll be beating it forever. Let it sit on the counter for about 20 minutes if you're in a hurry.
- Granulated sugar: This is what gives the cookies their tender crumb and subtle sweetness. Don't swap it for brown sugar or you'll shift the whole texture.
- Egg: One large egg binds everything and adds just enough richness without making the dough greasy or tough.
- Pure vanilla extract: The real stuff matters here—imitation extract tastes thin and flat compared to the warmth pure vanilla brings.
- All-purpose flour: Measure by spooning and leveling, not by scooping straight from the bag, or your dough will be too dry and the cookies will spread less than you want.
- Baking powder: This is the only leavening agent, and it's just enough to give the cookies a gentle lift without puffing them up like cake.
- Salt: Half a teaspoon might seem small, but it's crucial—it enhances the vanilla and balances the sweetness so the cookies don't taste one-dimensional.
Tired of Takeout? 🥡
Get 10 meals you can make faster than delivery arrives. Seriously.
One email. No spam. Unsubscribe anytime.
Instructions
- Cream the butter and sugar:
- Beat them together for 2-3 minutes until the mixture looks pale and fluffy, like soft clouds. You'll hear the mixer whirring, and the butter will lose its dense, yellow appearance—this is when you know you're done.
- Add the egg and vanilla:
- Beat until it's all mixed in and you don't see any streaks of butter. The mixture should look smooth and creamy.
- Combine the dry ingredients:
- Whisk the flour, baking powder, and salt together in a separate bowl—this distributes the leavening evenly so every cookie rises the same way.
- Bring the dough together:
- Add the dry mix to the wet mix gradually, stirring just until you see no white flour streaks. Don't overmix or the cookies will be tough and dense instead of tender.
- Chill the dough:
- Flatten each half into a disk, wrap it, and refrigerate for at least an hour. Cold dough is easier to roll out and less likely to spread too much in the oven.
- Shape and cut:
- Roll one disk out to about ¼ inch thick on a lightly floured surface and cut your shapes. You'll feel the dough firm up as it warms slightly, so work quickly but don't rush.
- Arrange and bake:
- Place cookies about an inch apart on parchment paper and bake at 350°F for 8-10 minutes. They should look barely set in the center and just barely golden at the edges—this is the sweet spot for tenderness.
- Cool properly:
- Let them rest on the hot baking sheet for 5 minutes so they can set slightly without hardening, then move them to a wire rack. This two-stage cooling is what keeps them tender all the way through.
 Save
Save These cookies remind me of my grandmother's kitchen, but not because she made them this way. She made them differently, sweeter and crispier, and mine were always softer. One day she took a bite of mine and said, 'Oh, these are better—you're not trying to be me.' That stuck with me.
The Texture Question
Sugar cookies walk a fine line between crispy and tender, and where you land depends entirely on how long they spend in the oven. The baking time I gave you—8 to 10 minutes—is designed for tender cookies with just a hint of crispness at the edges. If you like them snappier, bake them for an extra minute or so. If you want them practically melting, pull them out as soon as the edges barely set. I've learned that this single choice defines the whole experience of eating the cookie.
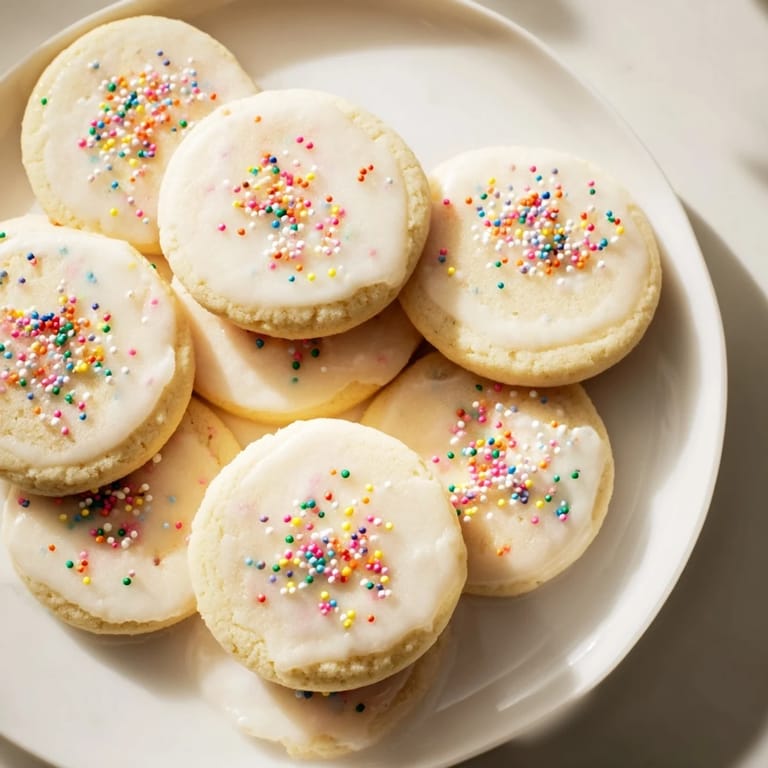
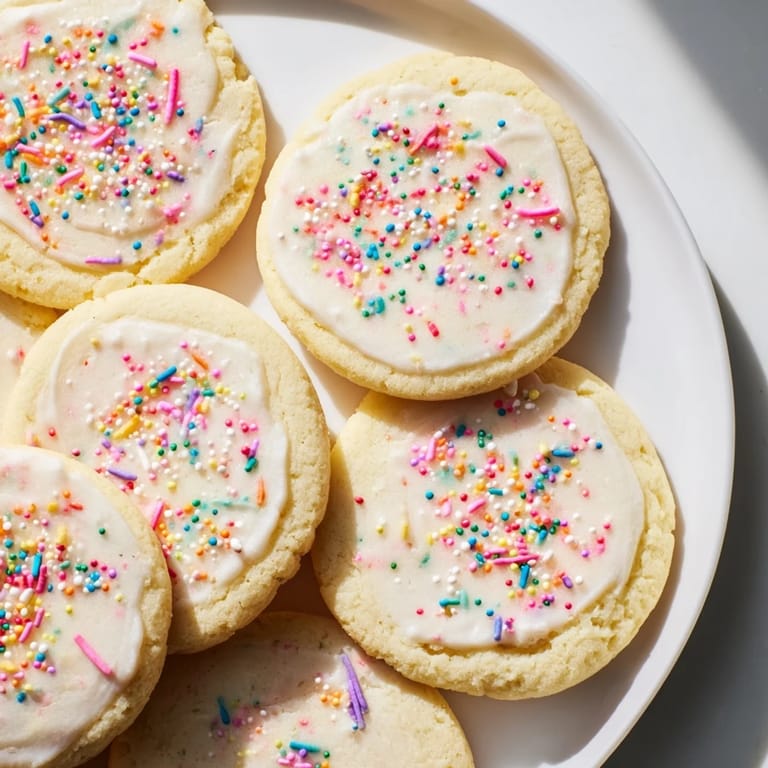
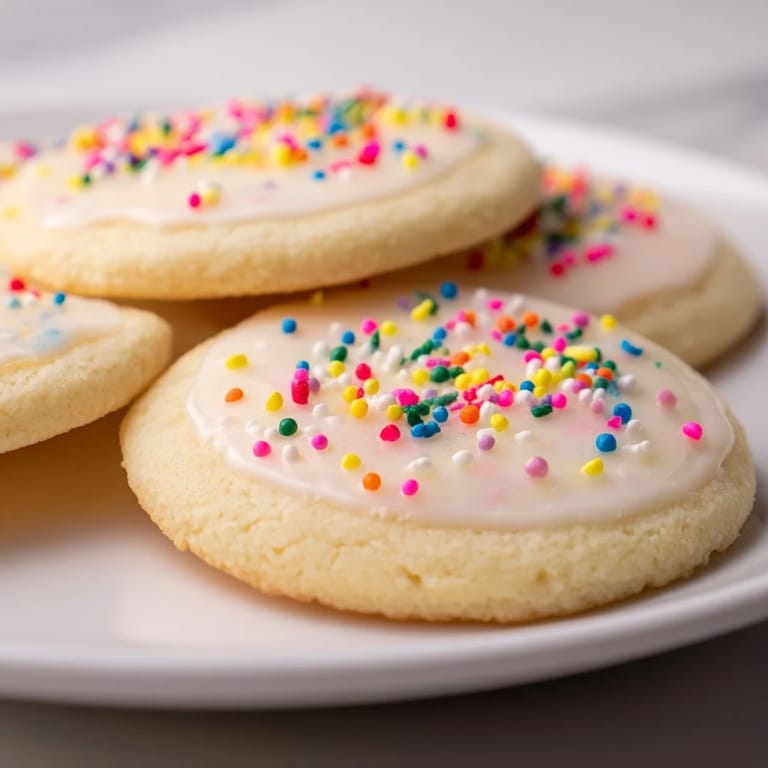
Decoration Ideas
The real magic happens after they're baked, when the cookies transform from plain to personal. Royal icing is the traditional choice—it dries hard enough to stack cookies without smudging. Colored sugars are quicker and give you that nostalgic look. Sprinkles are chaotic fun. I've also done a light dusting of cinnamon sugar for a more subtle approach, or brushed them with a thin glaze of powdered sugar and milk.
- Royal icing works best on completely cooled cookies because warm cookies will melt it before it can set.
- If you want a marbled look, drizzle icing then drag a toothpick through it while it's still wet.
- Plain buttery cookies are still delicious undecorated—don't feel obligated to go fancy if you don't want to.
Making Them Your Own
The base recipe is strong enough to handle variation without falling apart. A half teaspoon of almond extract shifts the flavor toward something almost cherry-adjacent. Lemon zest brightens everything up. I once added a tiny pinch of cardamom on a whim, and it turned into something I made every year after. The key is not overthinking it—add flavoring with restraint and taste a tiny piece of raw dough to check before you commit the whole batch.
Storage and Make-Ahead
The dough keeps for three days in the fridge and up to two months in the freezer, which is honestly one of the best features of this recipe. I've pulled dough out on random Tuesday afternoons when I needed something warm and comforting, or prepped it days before a party knowing I'd have fresh cookies ready to go. The baked cookies stay soft for about five days in an airtight container, though they rarely last that long in my house.
- Frozen dough can go straight into the oven without thawing—just add a minute or two to the bake time.
- Stack cooled decorated cookies between parchment paper layers to prevent them from sticking together.
- If they do get stale, a few seconds in the microwave brings back some softness, though nothing beats fresh.
 Save
Save These cookies are proof that simple doesn't mean boring. They've shown up at parties, teacher gifts, and quiet afternoons when I just needed to bake something uncomplicated and good.
Recipe Questions & Answers
- → What’s the best way to chill the dough?
Wrap the dough disks tightly in plastic wrap and chill them for at least one hour to ensure they roll out smoothly and hold their shape.
- → Can these cutouts be flavored differently?
Yes, adding ½ teaspoon of almond extract or lemon zest enhances the flavor with a delightful twist.
- → How do I achieve crispier cookies?
Bake the cookies a minute longer until the edges turn golden, but watch carefully to avoid overbaking.
- → What tools are recommended for shaping?
Use rolling pins, cookie cutters, parchment-lined baking sheets, and wire racks for cooling to achieve the best results.
- → How long can the dough be stored?
Refrigerate the dough for up to 3 days or freeze for up to 2 months for convenient preparation ahead of time.