 Save
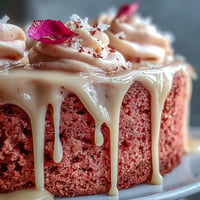
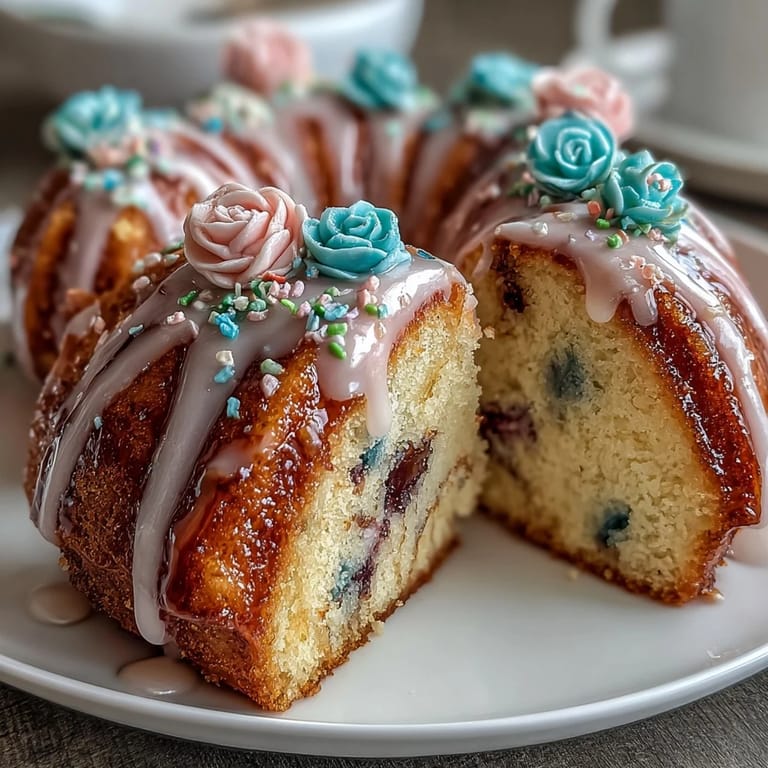
Save My sister called me three days before her birthday asking if I could make her a cake—not just any cake, but one that looked like spring had decided to land on a plate. I'd never piped flowers before, but something about her description made me want to try. The vanilla cake base felt like a blank canvas, and the pastel buttercream was forgiving enough that my wobbly roses still looked charming by the time we lit the candles.
I remember the smell of that cake cooling on the rack—vanilla so pure and simple it made the kitchen feel calm. My nephew wandered in, took one look at the three layers stacked on the counter, and asked if he could help with the decorating. We ended up laughing through most of it, his piped flowers looking more like colorful blobs, but somehow that made the cake feel more genuine, more ours.
Ingredients
- All-purpose flour: Measure by spooning into the cup and leveling off—scooping directly creates dense cakes that won't rise the way they should.
- Baking powder: Check your container's date; old baking powder loses its lift, and your cake will taste flat even if it looks right.
- Unsalted butter: Room temperature is non-negotiable here because cold butter won't cream properly, and your cake becomes tough instead of fluffy.
- Granulated sugar: This creams with butter to trap air, which gives the cake its tender crumb—don't skip this step or rush it.
- Large eggs: Room temperature eggs incorporate smoothly without seizing the batter, so pull them out 20 minutes before baking.
- Pure vanilla extract: Use the real thing; imitation changes the flavor in a way you'll notice immediately, especially in a simple vanilla cake.
- Whole milk: Also room temperature—cold milk can curdle slightly when mixed with the creamed butter and sugar, affecting texture.
- Unsalted butter for buttercream: The same rule applies; softened butter whips into a fluffy, cloud-like frosting that holds its shape for piping.
- Powdered sugar: Sifting removes lumps that would create grainy buttercream—takes two minutes and changes everything.
- Gel food coloring: Gel colors are more concentrated than liquid, so you use less and don't water down your buttercream like liquid coloring does.
- Edible flower petals: A handful scattered on top transforms the cake from homemade to thoughtfully crafted, even if the piping isn't perfect.
Tired of Takeout? 🥡
Get 10 meals you can make faster than delivery arrives. Seriously.
One email. No spam. Unsubscribe anytime.
Instructions
- Prepare your pans and preheat:
- Set the oven to 350°F and grease those three round pans generously—parchment paper on the bottom makes sure nothing sticks. Having everything ready before you start mixing means you're not scrambling while batter sits around waiting.
- Combine your dry ingredients:
- Whisk flour, baking powder, and salt together in one bowl; this distributes the leavening evenly so your cake rises consistently. It takes thirty seconds and prevents dense pockets that can surprise you mid-bite.
- Cream butter and sugar:
- Beat them together for three to four minutes until the mixture looks pale and fluffy—this is where the magic happens, trapping air that makes the cake light. You'll hear the mixer sound change when you've creamed it enough, getting quieter as air fills the mixture.
- Add eggs one at a time:
- Beat each egg in fully before adding the next one; rushing this step creates a broken, curdled-looking batter that bakes up dense. Each egg takes about thirty seconds to incorporate, and it's worth the patience.
- Mix in vanilla extract:
- A tablespoon seems small, but that vanilla is what makes people close their eyes and say mmm when they taste it. Scrape the bowl to make sure it's evenly distributed.
- Alternate flour and milk:
- Start and end with flour, going back and forth gently—this prevents the batter from becoming tough or developing gluten strands. Mix just until combined; overmixing at this stage ruins the tender crumb you've worked to build.
- Divide batter evenly:
- Use a scale or divide by eye, making sure all three pans have roughly the same amount so they bake at the same rate. Smooth the tops gently with a spatula.
- Bake until golden:
- Twenty-five to thirty minutes, and a toothpick inserted in the center should come out clean or with just a crumb or two. Start checking at twenty-five minutes; ovens vary, and dry cake is sad cake.
- Cool properly:
- Leave cakes in the pans for ten minutes so they firm up enough to handle, then flip onto wire racks to cool completely. Trying to move them too soon results in broken layers that feel like a small tragedy.
- Make the buttercream:
- Beat softened butter until creamy, then gradually add sifted powdered sugar so you don't create a cloud of sugar in your kitchen. The milk and vanilla go in next, and beat for another three to four minutes until it's smooth and fluffy enough to pipe.
- Tint your frosting:
- Divide buttercream into bowls and add gel coloring drop by drop, stirring between additions—these colors are potent, and you only need a tiny amount for soft pastels. Stop when it looks like spring feels, not like a neon sign.
- Layer and crumb coat:
- Place the first layer on your plate, spread buttercream on top, repeat with the second layer, then add the third. Apply a thin crumb coat all over the outside—a protective layer that traps crumbs so your final frosting stays clean.
- Chill the crumb coat:
- Twenty minutes in the fridge sets everything so your next layer of frosting doesn't pull up crumbs. This feels like a small break, but it's what separates a polished cake from a messy one.
- Pipe your flowers:
- Using different piping tips and pastel colors, create floral designs across the cake—there's no single right way, so have fun with it. Step back between colors to see how they balance before adding more.
- Finish and chill:
- Scatter edible petals or sprinkles if you like, then refrigerate for fifteen to twenty minutes so the buttercream sets and holds its shape. This final chill also makes the cake easier to slice cleanly.
 Save
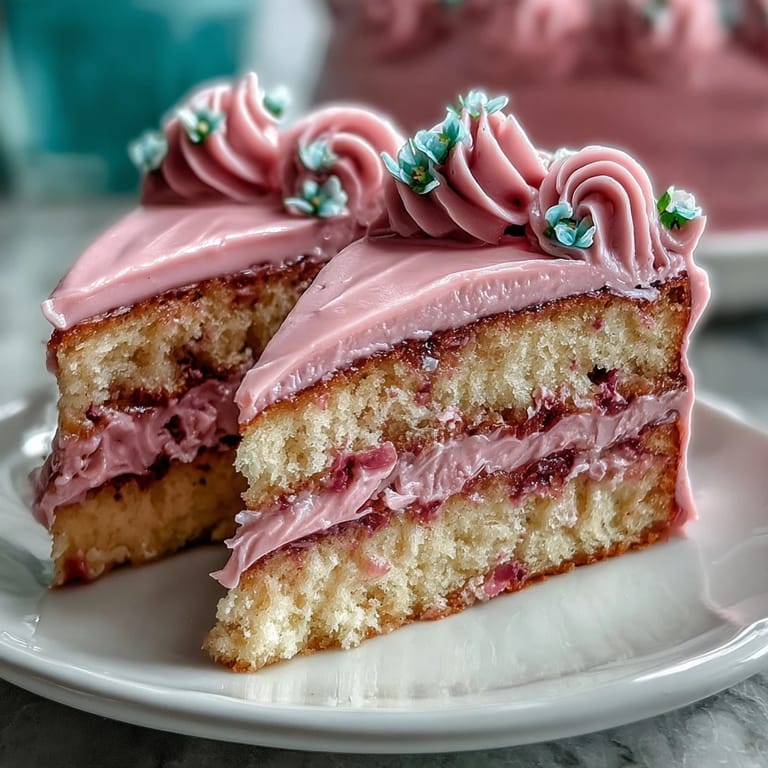
Save Watching my sister's face when she saw the finished cake—her eyes going wide, then soft—made every wobbly rose worth it. That's when I realized this cake isn't really about perfect piping or magazine-worthy colors; it's about showing up for someone and making something beautiful because they matter.
Flavor Variations That Still Feel Like Spring
The vanilla base is intentionally neutral so you can make it your own. I've added almond extract before and it deepens the cake in a way that feels grown-up without losing that tender crumb. Lemon zest mixed into the batter gives a subtle brightness that pairs beautifully with pastel buttercream—about one tablespoon of zest per batch, added when you cream the butter and sugar.
- Earl Grey tea steeped in the milk and cooled gives an unexpected floral note that makes people wonder what makes this cake taste like more than vanilla.
- Coconut extract instead of vanilla creates a softer, more delicate flavor that still lets the buttercream shine.
- A tablespoon of cornstarch mixed into the flour creates an even more tender cake, almost delicate, if your crowd prefers that texture.
Making This Cake Ahead and Storing It Right
Baked cake layers keep for three days covered in plastic wrap at room temperature, or you can freeze them for up to a month. I've made the layers the day before and assembled everything the morning of, which spreads the work without stressing about anything being stale. The decorated cake holds beautifully in the fridge for two days, and actually tastes better the next day once all the flavors settle.
Decorating Tricks from Someone Who's Still Learning
The most important discovery I've had is that piping tips matter less than confidence—a bad rose piped with certainty looks better than a perfect rose made while second-guessing yourself. Practicing a few piped flowers on a plate first takes the pressure off the cake itself and gives you a chance to get your hand comfortable with the bag and tip.
- Rotating the cake on a turntable as you pipe makes everything easier and more even, even if your turntable is just a lazy Susan from your kitchen.
- If a piped flower looks terrible, just smooth it out with an offset spatula and start again—buttercream is forgiving and you can redo sections until they feel right.
- Edible flowers scattered casually between piped details camouflage any imperfection while adding genuine spring charm that no piping tip can replicate.
 Save
Save This cake has become my go-to for celebrations because it tastes genuinely good and looks like you cared enough to try. That combination—delicious and thoughtful—is what makes people feel seen on their birthdays.
Recipe Questions & Answers
- → What is the best way to achieve smooth buttercream?
Beat the butter until creamy before gradually adding powdered sugar and liquids. Mixing until fluffy and smooth (3–4 minutes) ensures a creamy consistency perfect for piping.
- → How can I create pastel colors in the buttercream?
Divide the buttercream into separate bowls and tint each portion with gel food coloring in desired pastel shades for gentle, spring-inspired tones.
- → Can I prepare the cake layers ahead of time?
Yes, cool the layers completely after baking and store wrapped in the refrigerator. Chill the layers before adding buttercream to maintain structure during assembly.
- → What tools are recommended for adding floral decorations?
Use piping bags fitted with assorted tips to create varied floral patterns. An offset spatula helps with crumb coating and smoothing buttercream layers.
- → How do I ensure the cake is fully baked?
Insert a toothpick into the center; if it comes out clean, the cake is baked through. Baking time ranges from 25 to 30 minutes at 350°F (175°C).